Section 2.3 - Registration
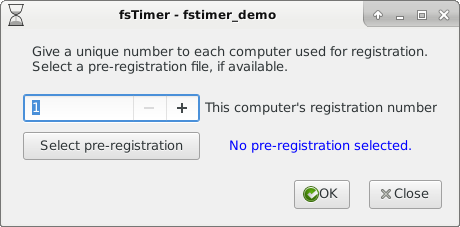
From the main window, click on "Register" to open the registration window. The registration window allows for edits and additions to the project registration database stored by fsTimer. When we press "Register" from the main window, we are asked to specify the computer's registration number and (optionally) to select a pre-registration file:

The computer registration number keeps track of the different files when using multiple computers for simultaneous registration, for instance, day-of. The database file saved by each computer will have the registration number in the filename so it will be easy to keep track of them all. Selecting a pre-registration file is optional. If you do not select a pre-registration file, then you will be presented with an empty registration database. In order to include the pre-registration information that we imported from the csv in the preregister window, we have to select that file ("fstimer_demo_registration_prereg.json") and press "OK."

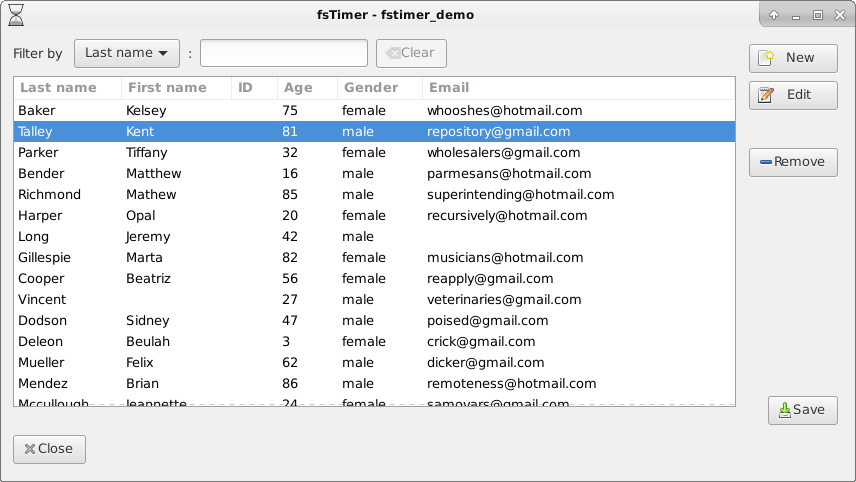
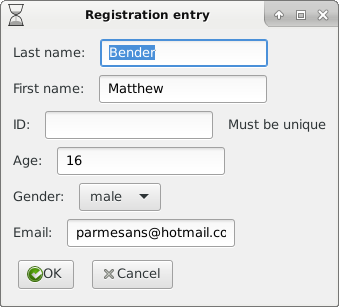
We have now loaded up the pre-registration database and can edit existing entries and add new entries. Editing an entry (for instance, to add a bib number) is done by selecting the entry and pressing "Edit." This opens a new window that allows you to edit any of that entry's information:

New registration entries can easily be added by pressing the "New" button.
When finished making changes to the registration database, press "Save" to save the database to a file. At the bottom of the window it will tell you the filename the database was saved to. After we have saved, we press "Close" to close the registration window.
Continue on to Section 2.4 Compiling registrations.